RAIV is a browser extension and server combination for capturing interactivity in web-based visualizations.
The browser extension allows you to specify which interactions in the visualization you wish to capture, takes a screenshot of the visualization after each captured interaction, and sends the screenshots to the server to be prepared for playback.
The server encodes the screenshots taken by the browser extension into an MP4 video file that is used to simulate the original visualization's interactivity without any of the original source code or data.
Make sure you are in the same home directory as the docker file before running these commands. To build the server and playback client, run:
docker compose up
To just build a specific component, run:
docker compose up --build server
docker compose up --build client
To watch the docker container in addition to building, run:
docker compose watch server
docker compose watch client
cd browser_extension
yarn install --frozen-lockfile

yarn build-watch
cd server
pipenv --python /path/to/python3.11
pipenv sync -d

pipenv run uvicorn src.main:app --reload --port PORT
cd client
yarn install --frozen-lockfile

yarn build-watch
Alternatively, you can run start.sh which should initialize each
component of the project and run each one in a separate tmux window.
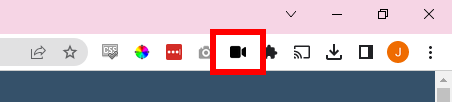
After building the extension, it should be loaded as an unpacked extension in your browser. Once done, you should see the following icon in your extension toolbar:
To use RAIV, open the visualization you wish to capture in your browser then click the toolbar icon. You should see the following window pop up on the page:
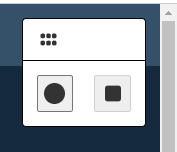
Clicking the left (start) button will allow you to start specifying the interactions you wish to capture. Clicking the right (stop) button will end this process and allow you to begin capturing the visualization.
After clicking the start button, you will see the following dropdown menu allowing you to specify the type of interaction to capture:

Toggle interactions differ from clicks in that both states (clicked and unclicked) are considered important to capture.
Once you've chosen the type of interaction to capture, you can hover over the visualization and you should see the extension drawing a border around the element that your mouse is focusing on. Once you click on an element, an interaction of your specified type on that element will be added to the interactions to capture.
After adding an interaction, you should see the following new button that allows you to view/modify the interactions to be captured:
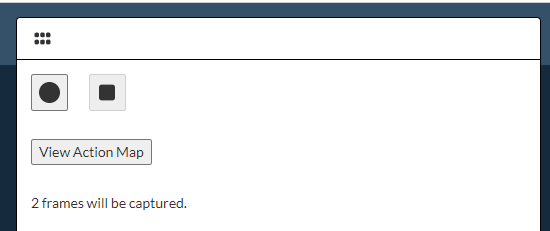
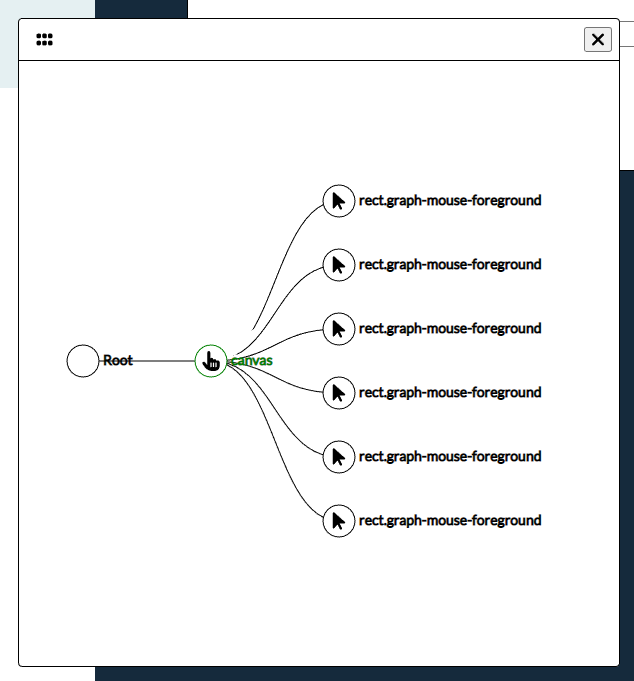
Clicking this button will open a tree showing the interactions you have selected for capturing.
To edit an interaction, left-click on its tree node and you will see a dialog that contains options for the interaction.
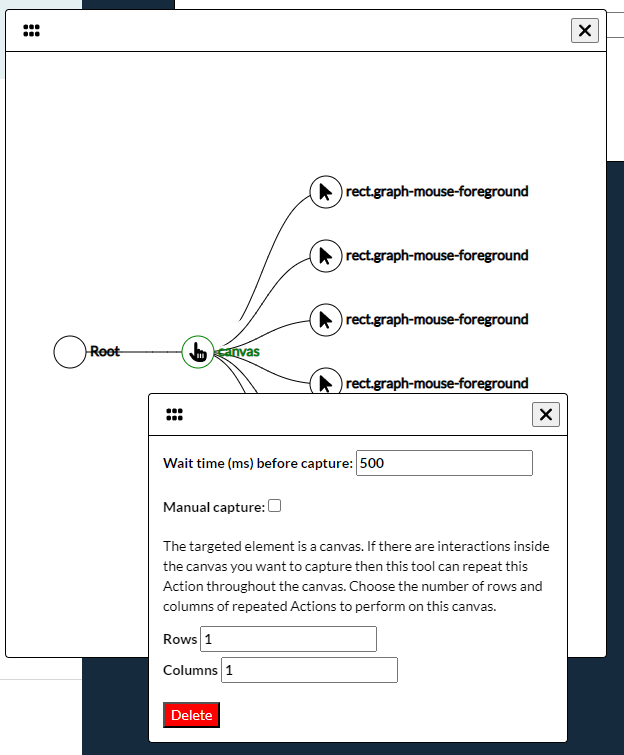
The wait time specifies how many milliseconds the extension should wait after simulating the interaction before taking a screenshot. This is useful if the interaction triggers asynchronous behavior and needs to wait for multiple seconds before the visualization has updated. Note that this cannot be set below 500ms in Chrome as Chrome limits screenshots to two per second.
The manual capture toggle instructs the extension to wait for you to confirm that the visualization is ready for a screenshot to be taken. This is necessary when the interaction has a highly variable wait time before the visualization is finished updating or when you need to modify the visualization before taking the screenshot (eg the interaction triggers a popup that renders out of frame by default and you wish to drag it into frame before capture).
Going back to the tree view, you may notice that one of the interaction nodes is green. New interactions will be added as children of the green tree nodes. It is necessary for correct playback that an interaction dependent on another interaction (eg a hover event inside of a popup triggered by a click event) be a child of it in this tree. You can add/remove a node as a parent (green) node for new interactions by right clicking on it.
Once you are done adding interactions, click the stop button to end the interaction selecting process.
Now, fill out the form that specifies where your playback server is running and click capture:
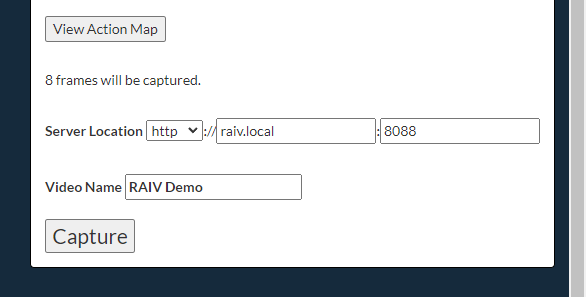
Your video may take some time to encode depending on your server's available resources and the number of interactions you are capturing.
Once you have captured at least one visualization, navigate to where you ran the server (eg http://localhost:{PORT}) in your browser. You should see a gallery with a thumbnail for each visualization you've captured. Click on the thumbnail to open up the playback client, and then you should be able to perform the interactions you captured just as you could with the original visualization and data!