QueryPie Community Edition lets you experience the core features available in QueryPie Enterprise:
- Database Access Controller
- System Access Controller
- Kubernetes Access Controller
- Web Access Controller
Important: Community Edition supports up to 5 user registrations only. (If you need more than 5 users, please consider upgrading to the Enterprise Plan.)
QueryPie runs as a typical web application and also includes proxy-based network server functionality.
For basic testing and small deployments:
- CPU: 4 vCPUs (AMD64 Architecture)
- Memory: 16 GB RAM
- Storage: 100 GB+ disk space
- OS: Linux with Docker daemon
Cloud Instances:
- AWS EC2:
m6i.xlargeorm7i.xlarge - GCP Compute Engine:
c4-standard-4,n4-standard-4(or any AMD64 -standard-4 models)
For multi-user production environments:
- CPU: 8 vCPUs (AMD64 Architecture)
- Memory: 32 GB RAM
- Storage: 100 GB+ disk space
- OS: Linux with Docker daemon
Cloud Instances:
- AWS EC2:
m6i.2xlargeorm7i.2xlarge - GCP Compute Engine:
c4-standard-8,n4-standard-8(or any AMD64 -standard-8 models)
📄 For detailed requirements, see: Prerequisites for Installation - Single Machine
QueryPie installation is automated using Docker. Follow these simple steps:
Open your Linux server terminal and run this single command from your home directory:
bash <(curl https://dl.querypie.com/setup.v2.sh)⏱️ Installation time: Typically 7-10 minutes
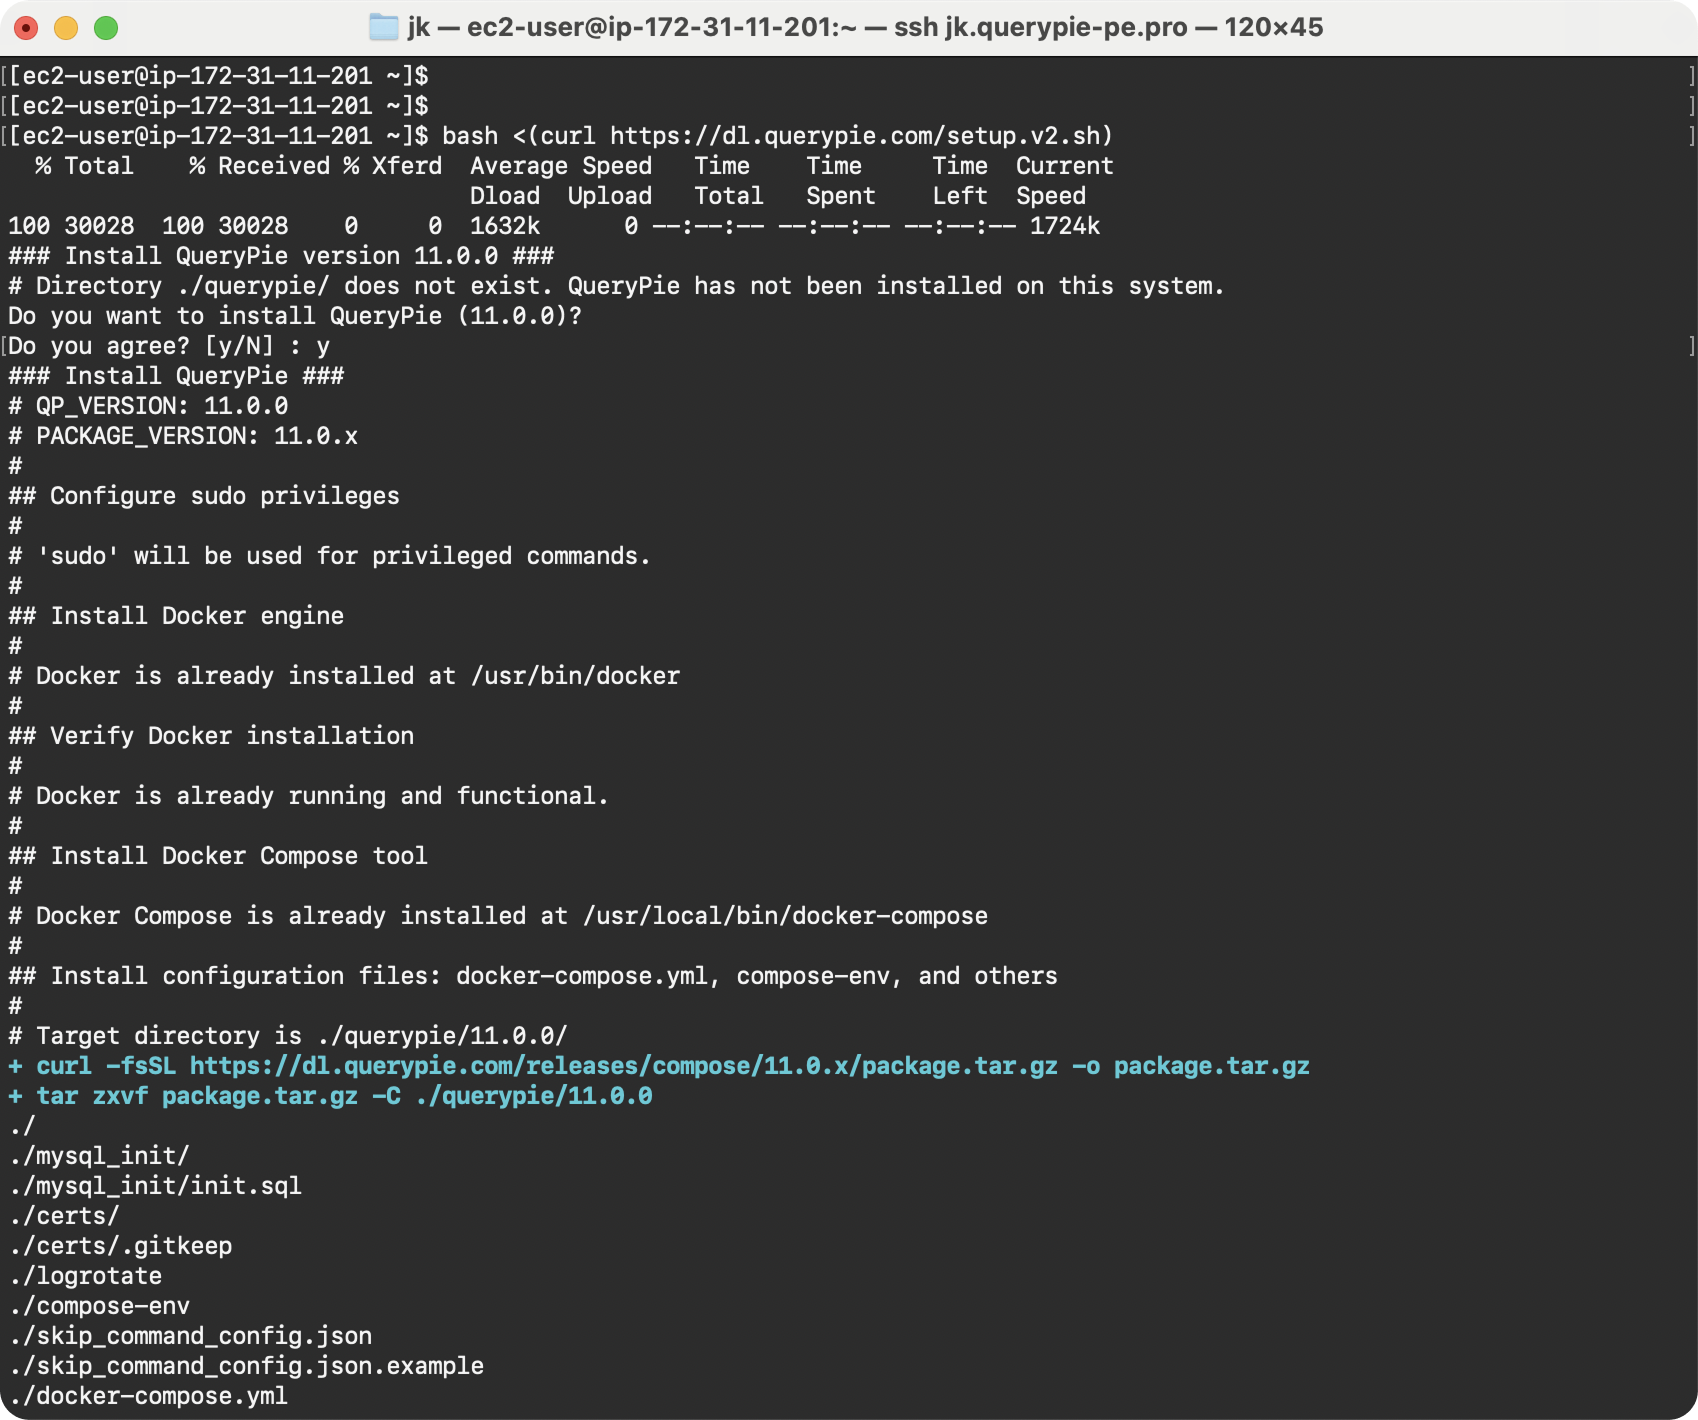
Installation in progress
While installation is running, apply for your free license:
- Fill out the license application form
- A
.crtlicense file will be sent to your email
Once installation completes, open QueryPie in your browser:
http://<your-server-ip>
or
https://<your-server-ip>
Note: Make sure your server IP is accessible from your computer

Installation completed successfully
Upload your .crt license file or copy-paste the PEM content:
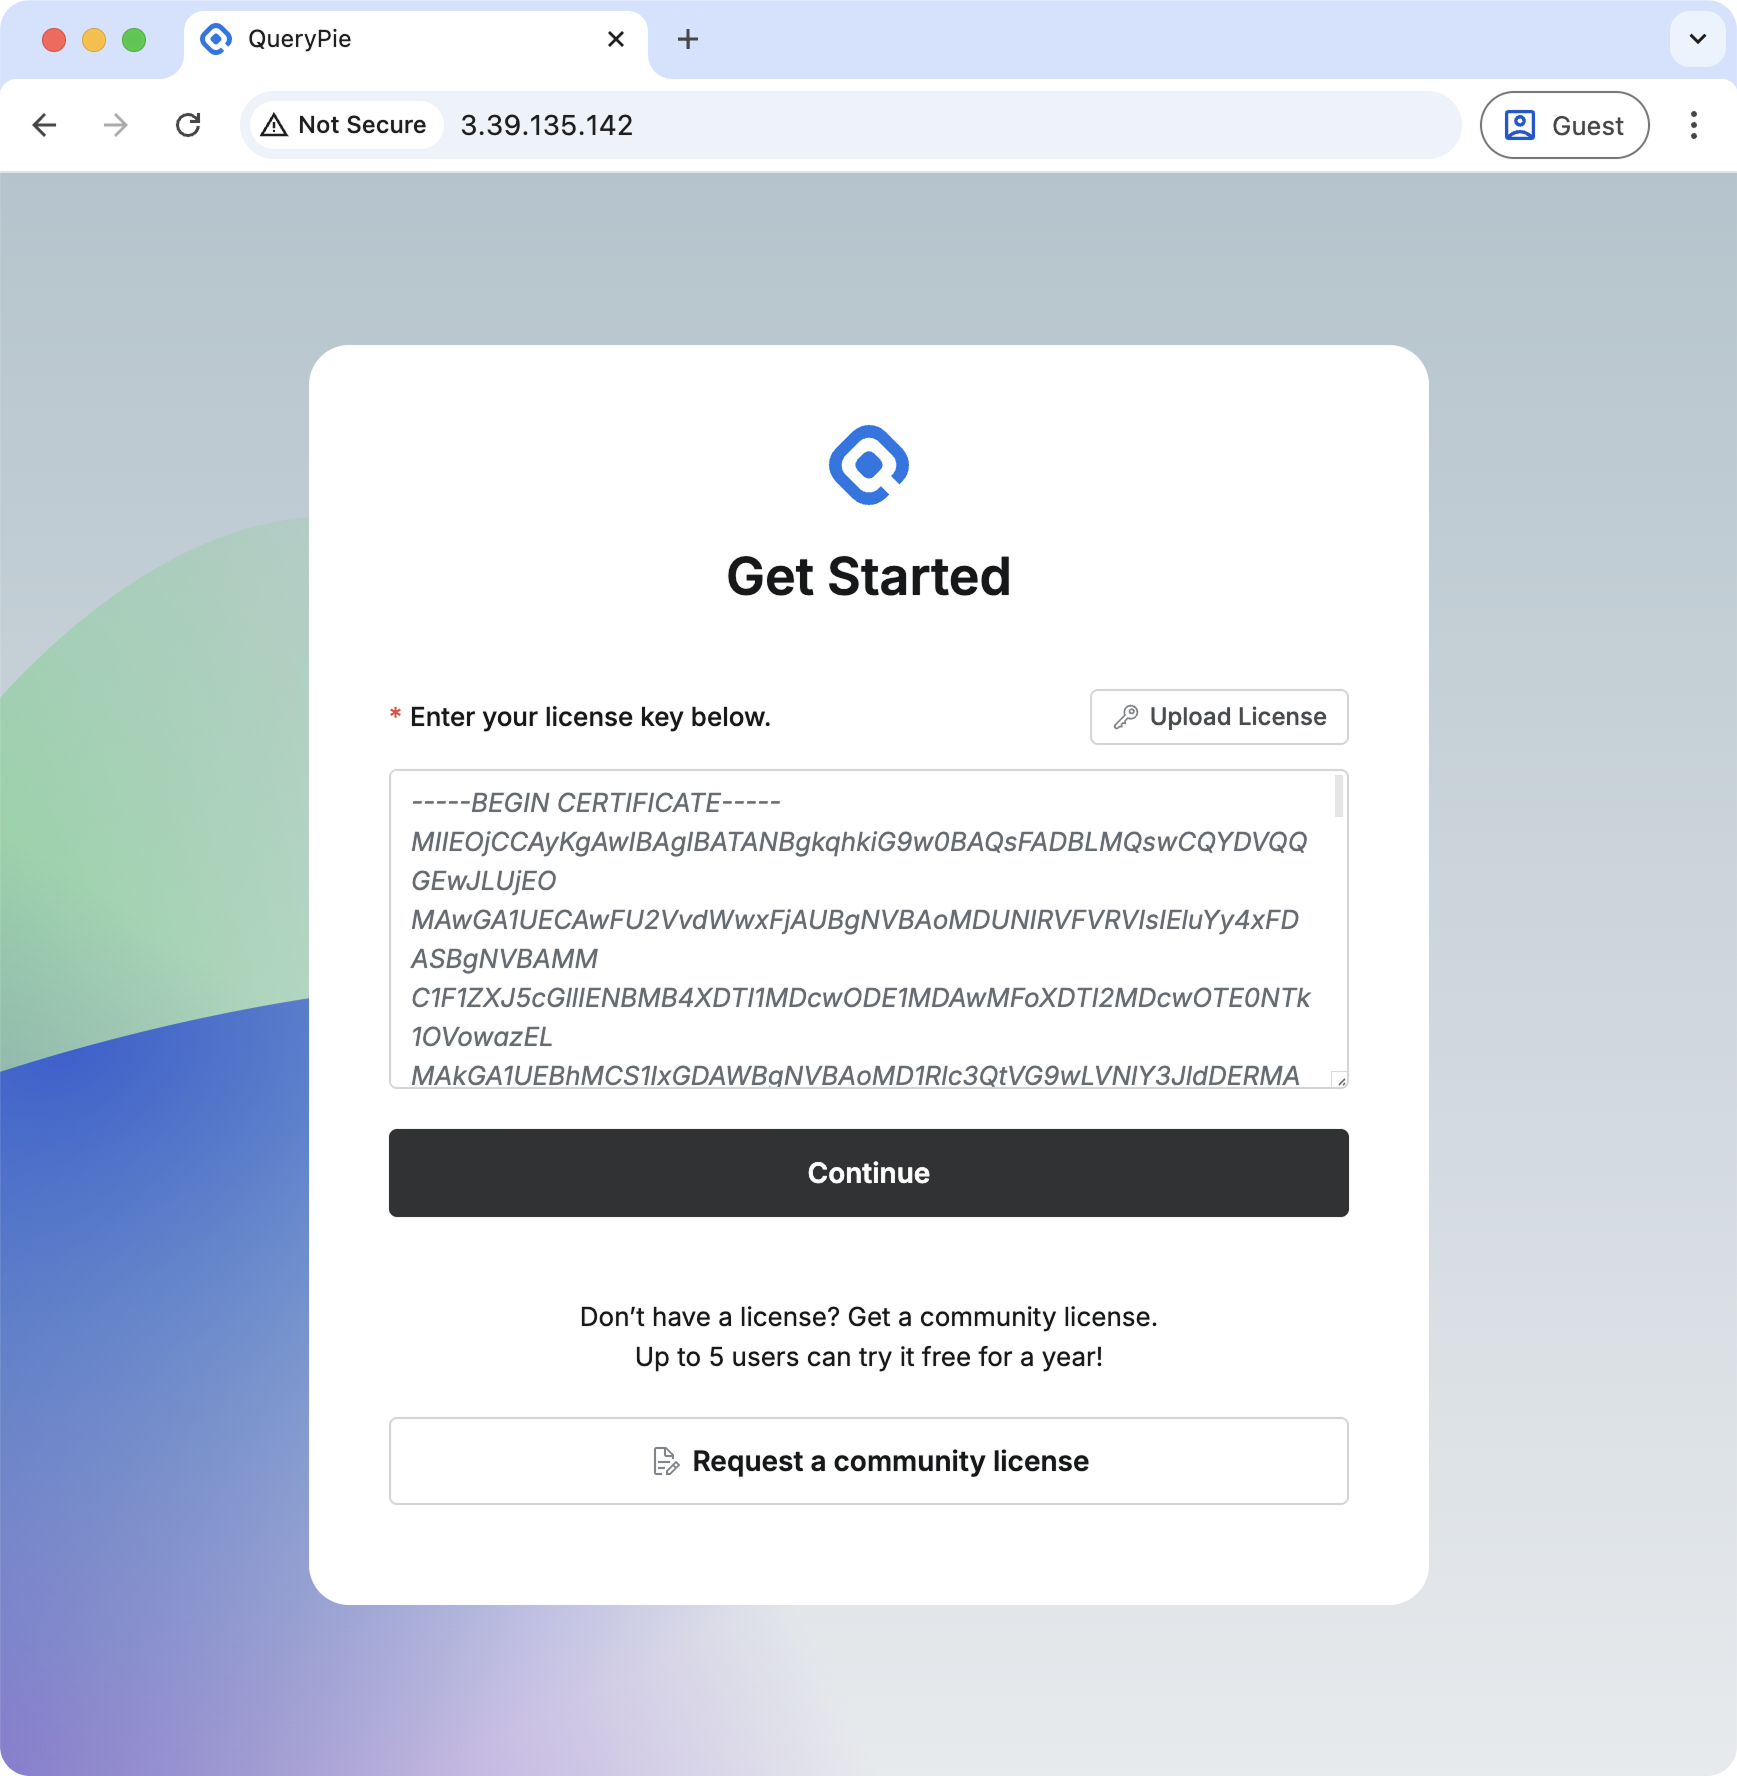
Enter license in PEM format
Use the default admin credentials:
- Username:
qp-admin - Password:
querypie
🔒 You'll be prompted to change the password on first login for security
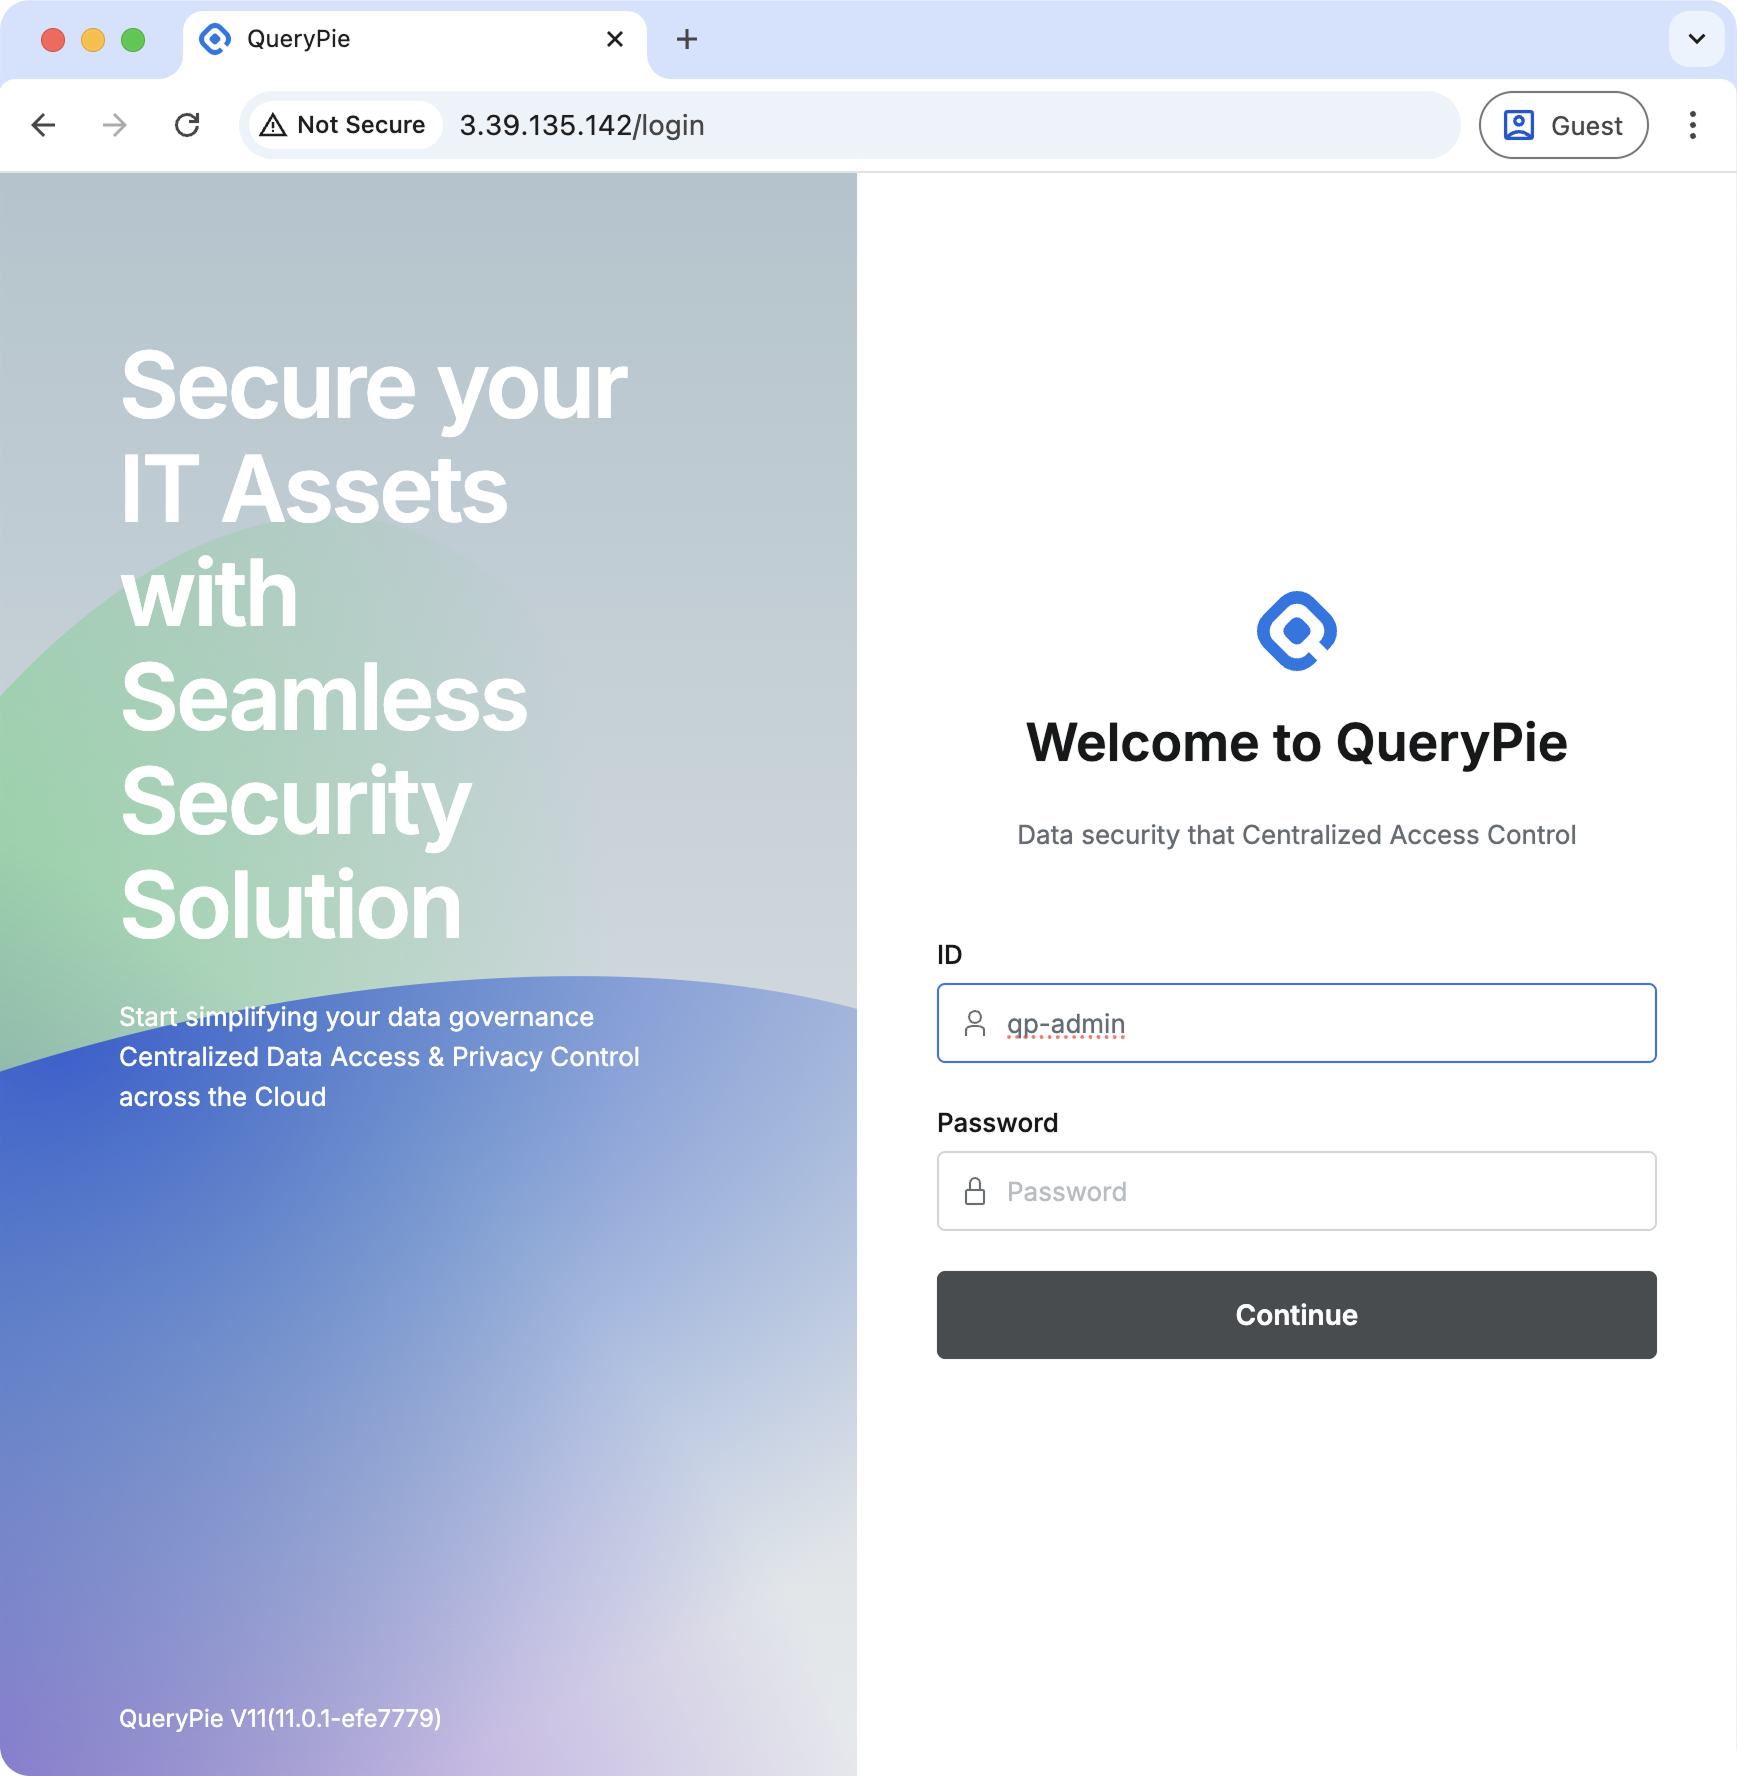
Initial login screen
Congratulations! QueryPie is now ready to use.
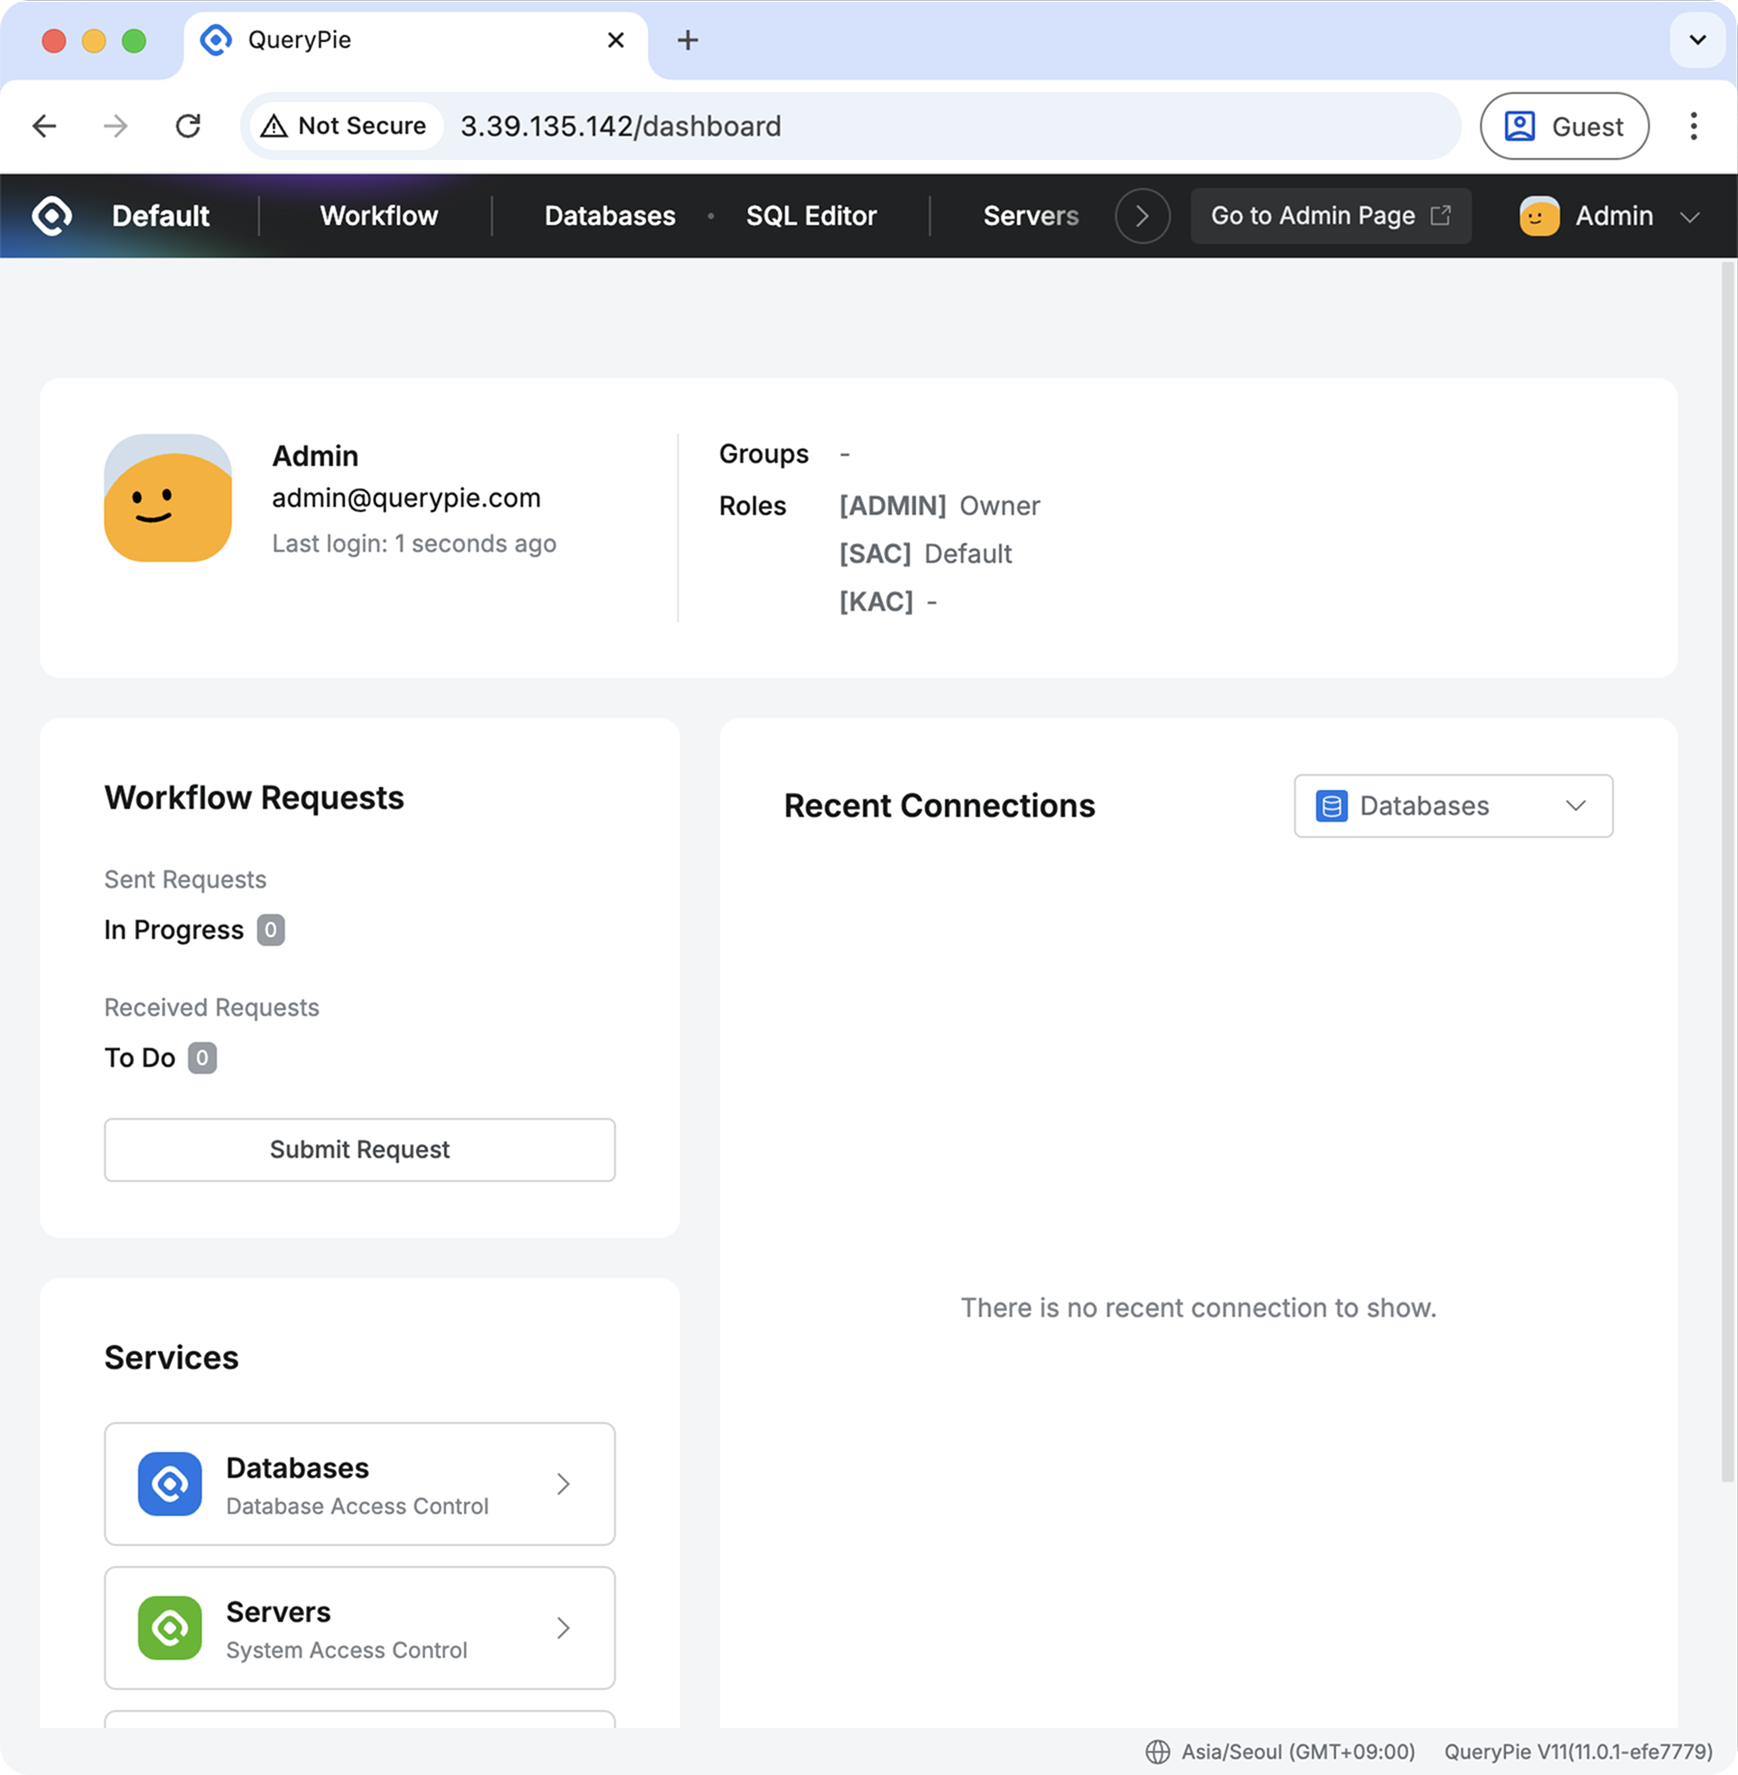
Welcome to QueryPie!
Next Steps:
- Check out the Administrator Manual for environment setup
- Start configuring your database connections
- Invite team members (up to 5 users)
- Requirement: Valid license required after installation
- Format: Text file with
.crtextension (PEM format) - Delivery: Sent to your email address from application form
- Duration: Valid for one year from issue date
- Usage: Personal license, non-transferable
Join our community for help and discussions:
🔗 Official QueryPie Discord Channel
Get support, ask questions, and share insights with other QueryPie users!