Pair programming is an Extreme Programming Practice. Two developers actively collaborate on the same development effort. Traditionally pairing takes place at the same workstation with the pair sitting together. Developers can pair on individual computers when screen sharing is used, making it possible to pair remotely. What matters is that the pair is communicating and seeing the same screen as they work.
In a pairing session the pairing team contribute complimentary efforts while collaborating. The members of the pair will have separate roles, and will likely switch roles over the course of the pairing session. Each member performs the action the other is not currently doing.
For example: A developer currently driving will write code while the other will read code. The reader will look for errors, consider the solution, and offer suggestions.
In this example, the developer is refered to as the "driver" and the second is the "navigator".
In the middle of this lesson's tasks, your responsibilities will pivot. Whomever starts as the driver will switch and become the navigator where the lesson specifies. And vice versa.
Let's begin!
- Reinforce basic bash commands like
cd,mkdirandtouch - Reinforce basic git commands like
init,add,commit,push,statusanddiff - Learn how to create and merge Pull Requests on Github
- Introduce markup language called
Markdown
Markup is another name for HTML elements which style text. It has Markup right in its name. Markdown is a plain text specification for writing text using special formatting which can be read easily on its own, or converted to Markup to be displayed as a normal HTML web page.
So what does Markdown look like? Well, you are actually reading some stylized Markdown right now. Let's take a look under the hood. Open a new browser tab and open up this page once again. Now click on the github link for this lesson. Displayed below the file system in this Github view you will see this exact README.md. CAN YOU FIND THIS QUESTION IN THE FILE?
You'll notice that this text looks different on Github than it does on Learn. That is because on Learn, this file has had a lot more styling applied to it. That style comes directly from css files attached to the Learn project. On Github, there are fewer styles applied to this text.
So why is this text classified as a markup language? Let's pull back the final layer to find out. Click on the README.md file itself, listed in the file system towards this top of the page.
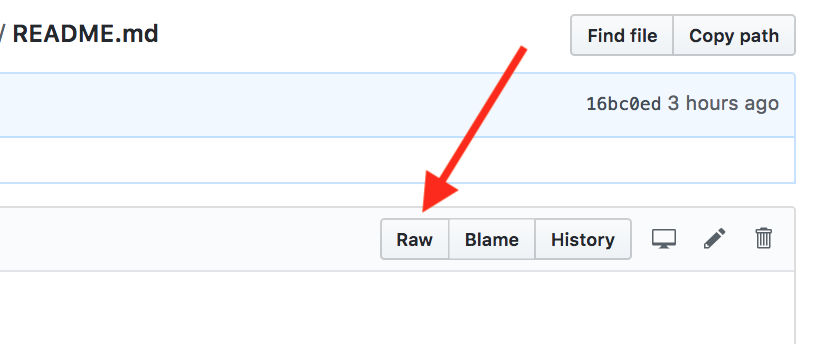
And now click on the "Raw" button, in the top right corner of the document.
What you see now is Markdown code. No where near as fancy as what you see on Learn, but really its just some text with special characters.
We won't be exploring Markdown in great detail. But it is important to know about its existance and that it is a handy tool developers use for to quickly create stylized documentation for the web. To investigate more, check out this Markdown cheatsheet or peruse the Markdown doc pages themselves.
cdto a directory of your choice that will be a great place to keep your pairing projects- Verify the location on your laptop's file system with
pwd, which stands for "print working directory" - Create a new directory called "pairing-projects" with the
mkdircommand cdintopairing-projects- Create another new directory that will match the name of this project. Let's name it
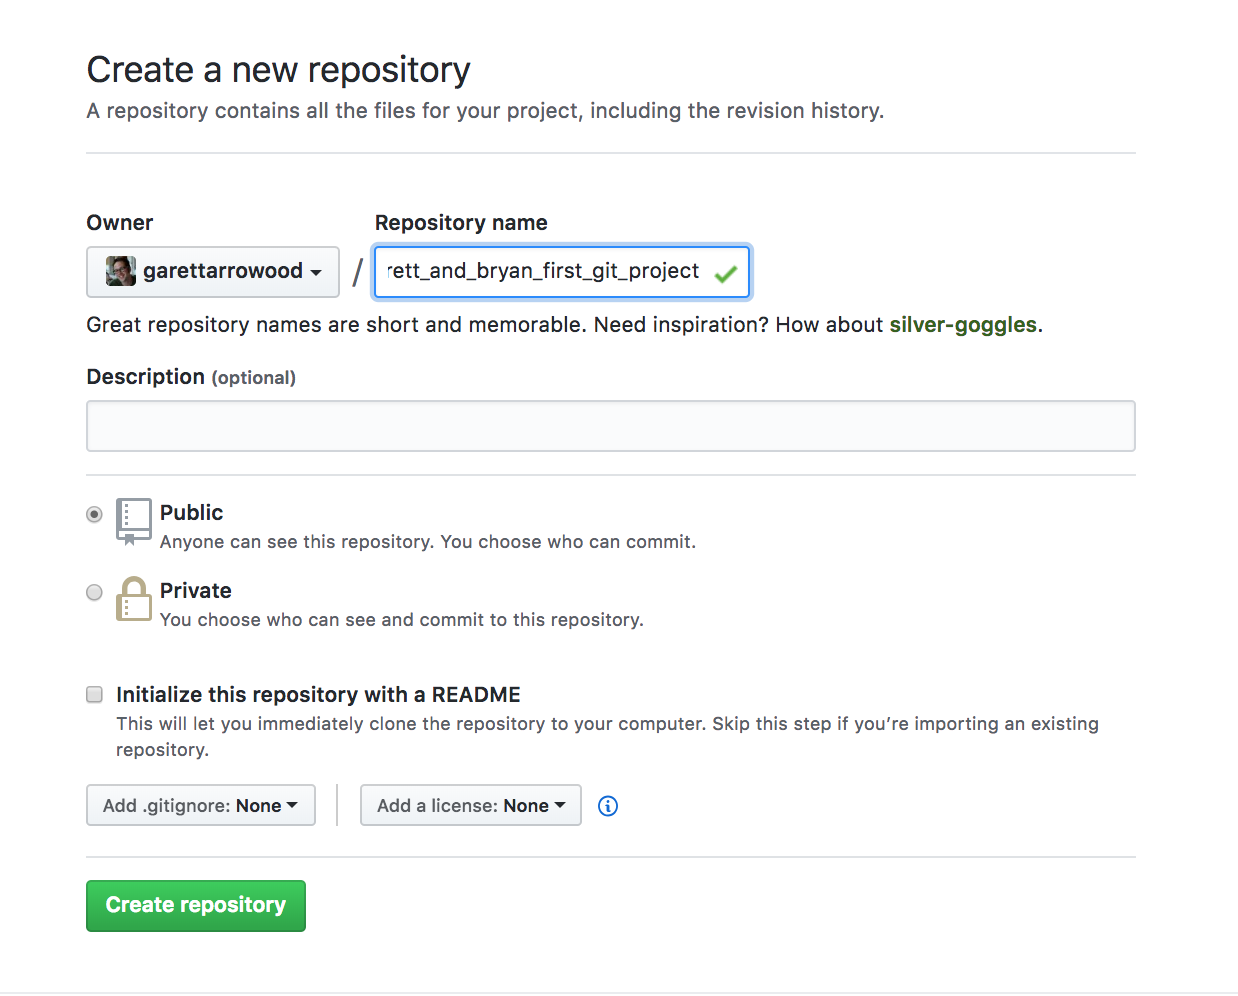
<your_first_name>_and_<your_pair's_first_name>_first_git_project. For example, if Garett Arrowood and Bryan Reed were creating this project together, and Garett was driving, he would run this command:mkdir garett_and_bryan_first_git_project cdinto the new directory- In a browser, navigate to your github profile page
- In the top right corner, click on the "+" icon and select "New repository"
- In the next screen, enter the name of your new project under "Repository Name"
- Click the green "Create Repository" button at the bottom of the form
- Now take a long look at the next screen Github has presented to you. We are going to create a new repository on the command line
- Shift back to your shell session. You should still be in your new directory. Verify it with
pwd - Create a
README.mdfile using thetouchcommand
- Instantialize the new repository with
git init - Use
git statusto see that you have one untracked file, theREADME.md(it appears red) - Add your blank
README.mdfile withgit add README.md - Use
git statusagain to see that theREADME.mdis staged (it now appears green) - Commit your work with
git commit -m "First commit" - Use
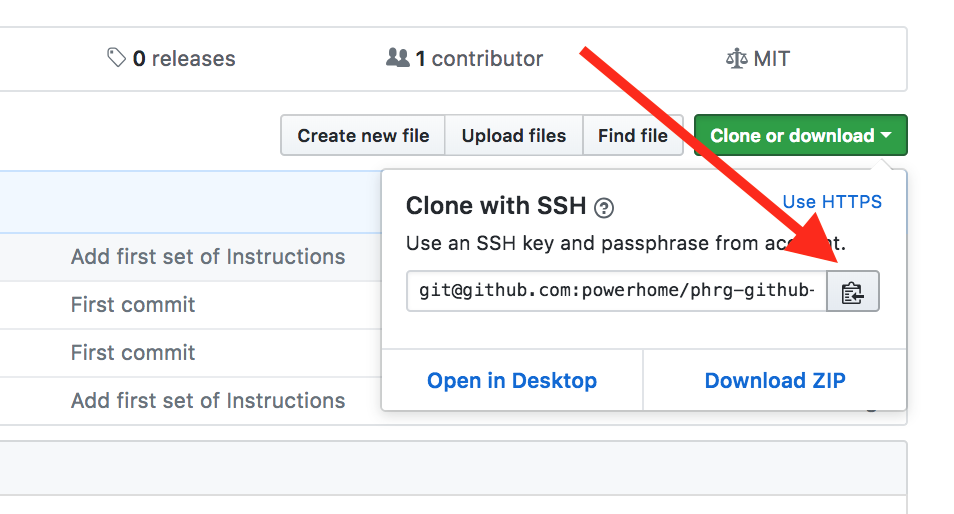
git statusagain to see that you have nothing untracked nor staged (no files appear) - Go back to your browser and use the clipboard icon to copy your SSH remote URL. Make sure that SSH is selected. This is where the clipboard icon is:
- In your shell session, add the remote with
git remote add origin <paste-remote-url-here>. The remote URL will look something like[email protected]:<your-github-handle>/<name-of-project>.git - Finally push up the files with
git push -u origin master
Complete the next set of instructions on the other pair member's laptop.
cdto a directory of your choice that will be a great place to keep your pairing projects- Verify the location on your laptop's file system with
pwd - Create a "pairing-projects" directory with the
mkdircommand cdintopairing-projects- In a browser, navigate to your partner's profile page and locate the new repository you just created
- When on the repo page, locate and click the "Fork" button in the top right corner:
This will redirect you to a copy of the codebase in your github account.
- Next, locate the green "clone or download" button towards the top right corner. Click on this button and verify that it says "Clone with SSH". If not, switch it to ssh. Then click on the clipboard icon to copy the remote url:
- Return to your shell session and clone down the project with
git clone <paste-remote-url-here> cdinto the new project folder- Open up the codebase in your text editor
- Verify you can view the blank
README.mdfiles from your text editor
Now you will create a branch using git. Once you have completed your set of code changes, you will add and commit the work, then create a Pull Request (PR) for your partner to merge.
- Create a git branch off the main
masterbranch. Lets name the branch "add-developer-names". Notice that the branch name contains no whitespace. Our command line can not process a name with whitespace because it will think you are passing it a new argument. To create our new branch, rungit checkout -b add-developer-names - Navigate to the
README.mdand add an h1 markdown element with the title "Power Code Academy Students" (check out the Markdown links above to see what this looks like) - Next, add h2 markdown elements for each of the class participants. Each element should be titled with the first and last name of a Student Developer
- Use
git statusto see that you have one modified file, theREADME.md(it appears red) - Use
git diffto see any unstaged changes you've made - Stage your changes to the
README.mdwithgit add README.md - Use
git statusto see that you have staged a file change (it appears green) - Use
git diffto see any unstaged changes you've made (nothing should appear) - Commit your changes with
git commit -m "Add developer names to README file" - Use
git statusagain to see that you have no untracked nor staged files (nothing should appear) - Push your commit to your branch with
git push origin add-developer-names
Back to the browser! If all went well, the project page should now be displaying a yellow-tinted prompt with a green button that says "Compare & pull request". Press that green button.
This will open up a screen that allows you to give your Pull Request (PR) a title and description. Also, you can scroll down to the bottom and see the code additions you have made. Make the PR title "Add Developer Names" if it is not already and give it a description of "My first PR description.". Find the green "Create pull request" button and click it.
Congrats! You both have not only created your first github repo, you have also created your first PR on that repo. There is only one last step. The original driver can merge the Pull Request into their master branch with one more green button click.


