Tutorials and samples for Maix Bit
This repo is based on MaixPy official documentation, but specialized for Maix Bit.

sudo adduser $(whoami) dialoutAfter this command, you need to logout and login.
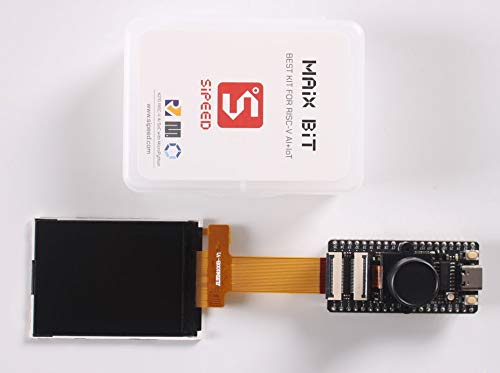
Connect Maix Bit, LCD, camera and USB-C like below.
ls -alF /dev/ttyUSB*
# /dev/ttyUSB0 might be detected.Download latest firmware MaixPy v0.3.2 from here.
Download kflash_gui v1.3.2 from links below.
cd ~/Downloads
tar xvzf kflash_gui_v1.3.2_ubuntu16.tar.xz
cd kflash_gui
./kflash_guiSet kflash_gui like below and burn maixpy_v0.3.2_full.bin into Flash.

sudo apt install minicomsudo minicom -sSet up following settings.
- Serial Device:
/dev/ttyUSB0 - Backspace key sends:
DEL - Line wtap:
Yes
For more detailed information, read here.
minicomIn minicom, you can try import MaixPy.
>>> import Maix
>>>
# no error means success.
You can also try LED blink test as below.
from Maix import GPIO

fm.register(board_info.LED_R, fm.fpioa.GPIO0)

led_r=GPIO(GPIO.GPIO0,GPIO.OUT)
led_r.value(0)You can finish minicom with Ctrl+A X.
Download uPyLoader from here.
cd ~/Downloads
mkdir ~/.local/bin
export PATH=$HOME/.local/bin:$PATH
# you can write it in ~/.bashrc
cp ./uPyLoader-linux ~/.local/bin/uPyLoader
uPyLoadergit clone https://github.com/knorth55/maixbit_tutorials.gitcd maixbit_tutorials
uPyLoaderFirst click connect button to connect /dev/ttyUSB0.
Then, select scripts/demo_fps_display.py and click Transfer button below.
![]()
Run minicom
minicomThen, execute demo_fps_display.py as below.
with open('demo_fps_display.py') as f:
    exec(f.read())
fps_display()
Now, LCD show camera RGB image with FPS.
Same as here .
First, download face_model_at_0x300000.kfpkg YOLO face detection model from here.
Then, burn face_model_at_0x300000.kfpkg by kflash_gui as below.
cd ~/Downloads/kflash_gui
./kflash_gui
Same as here.
minicomThen, execute demo_find_face.py as below.
with open('demo_find_face.py') as f:
    exec(f.read())
find_face()
Finally, you can get face detection as below.